Tutorial

Polarised Sky

jan-pics-2.jpg

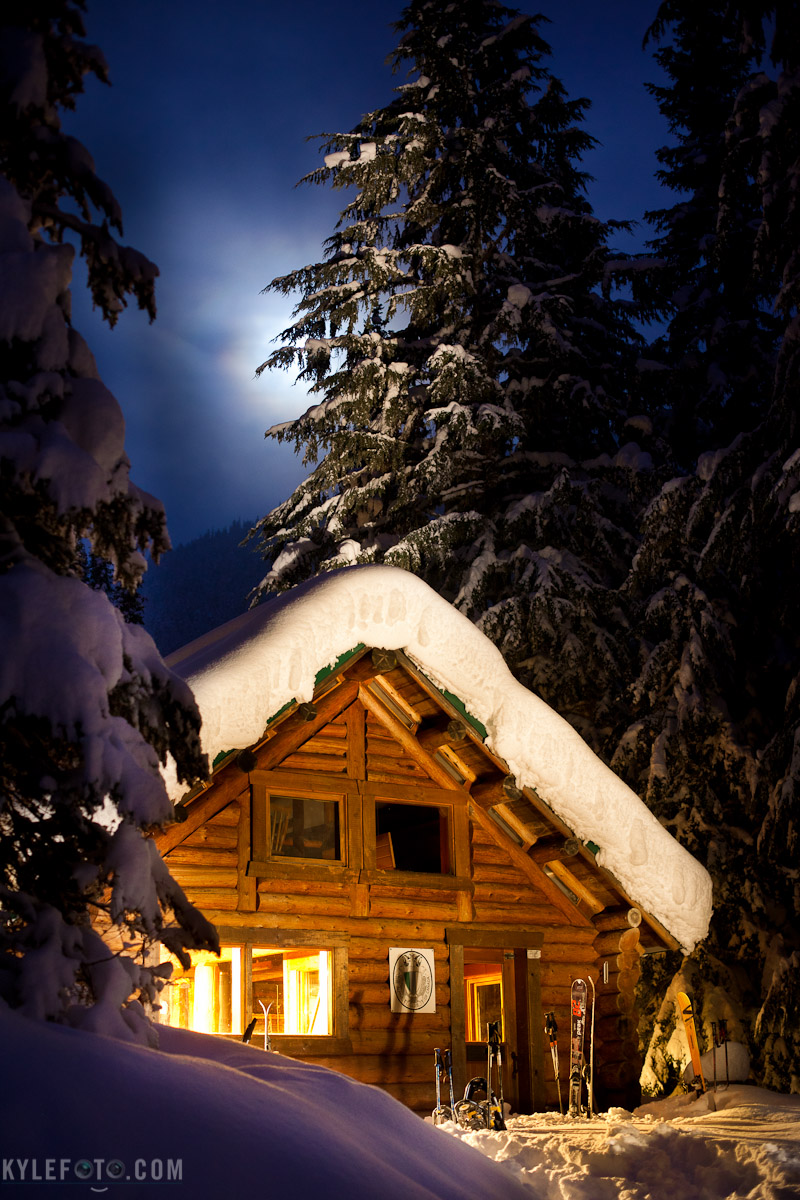
Svalbard, Norwegian ArcticFrom the blog http://www.kylefoto.com

This sky was particularly beautiful. Sometimes it’s not about the extraordinary landscapes that are under my feet, but the canvas of ever changing colour and texture above in the sky.

Photographic Details: Shot at the brightest exposure I could allow myself in order to capture the most detail, I also used a circular polarizer. A handy little filter known for darkening the blue sky in order to get the sky to pop. If the sun is in the right direction often the piece of sky 90 degrees perpendicular to it is greatly effected by the polarizer, adding a bit more drama to the image.

The best way to visualise which part of the sky will be greatly effected by a polariser is by making a 90 degree angle with your thumb and index finger, like making a pretend gun with your hand. If you keep your thumb pointed directly at the sun at all times, any direction you can then point your index finger will tell you where the sky is mostly effected by the polariser, voila! Your hand is a polarised sky finder!

1/125s f/9.0 ISO100 16mm

Get festive outdoor photos with light painting!

ski-hut-holiday-2.jpg

Wheeler Hut, B.C. CanadaMake sure you look at all three photos in this post to see the before/after

It was a cool festive evening at wheeler hut as the moon rose in the foggy night sky. A long day of backcountry skiing was well rewarded with hot chocolate, and a delicious meal. Even though we were “in the sticks” I couldn’t help but cook a hearty meal with turkey stuffing, asparagus and boursin stuffed chicken breast, can you tell I love food? A game of jenga on the dinner table brings bouts of laughter as we tell stories by the cozy wooden fireplace.

Photographic Details: I found the angle and composition I was looking for to show the front of this beautiful hut with the moon shining behind it but the hut itself was dark in the photograph. I had to add some light if I wanted the logs and the white fluffy trees to be visible. I knew I would be getting shots like this so I planned ahead to bring my massive maglite, it’s my favourite light painting tools as I can focus the beam of light and it’s bright enough to be very useful photographically.

Before Photo:

You can see the first photo is atmospheric but I had a vision for more detail in this photo.

So I set my camera on a timer on a tripod stuck in the snow and frantically ran to the right of the camera with my maglite (not easy in deep snow). Once I heard the click of my shutter set at 15 seconds I shined the light on every part of the photo that I wanted illuminated. I made sure to light up the part of the tree by the moon to help draw the eye toward the sky, I wiggled my flashlight all over the skiis, snow and front of the cabin. After 15 seconds my camera finished it’s exposure and the light that I shone in that timespan was “painted” onto the surface of everything it touched.

After Photo:

You can see the result is dramatically different and the image has a much brighter feel. Be sure to try standing in different places and avoid light painting from behind the camera, a light source too close to the camera may look too much like an in camera flash which doesn’t produce flattering results. light painting is a great way of illuminating subjects at night, the beauty of it is that you don’t have to be exact, and it’s easy enough to have a flashlight handy in your kit!

Lighting Diagram:

15s f/2.8 ISO800 50mm


No budget martini

martinifriday.jpg

Taken in my back yard when I was a 17 year old kid in high school, year 2000See the before shots at http://www.kylefoto.com

In high school I had the absolute privilege of receiving a whopping 3 megapixel Olympus camera with a 16 megabyte memory card as a christmas gift. My parents saw that I loved photography and sprung for this little gem of a camera. Little did I know this little bundle of glass and circuitry would inspire and take me on such great journeys as it has.

Photographic Details: I didn’t have any fancy equipment so I did the very best with what I could. I knew I needed a black background for the look I wanted. I took one of my moms nice black jackets and set it up outside as the background and floor of the shoot.

I had no flashes, bounces, fancy lenses or anything else besides my camera. Instead of lights I used the bright overcast sky outside and a wide open aperture of f1.8. This let in enough light for me to shoot at the fastest shutter speed available on this camera, 1/800th of a second. I then poured water into the martini glass and shot as many photos as possible, freezing the action. In addition I took photos of a toothpick olive, and various streams of water.

After selecting my favourite photos of each stream of water I brought the images into paint shop pro. I don’t think it had any masking features but I used the eraser tool to delete the background. I then replaced the background with solid black and added a touch of highlights, combining each item on a layer to get the final image!

I want to prove to you that fancy equipment wasn’t necessary 11 years ago and isn’t now. Even though this image does have many flaws and isn’t fully up to my standards, my brother used the image in one of his marketing assignments and got an A!

#Foodfriday

Life Spark long exposure

thursdaylight-11.jpg

Toronto, Ontario Some of the first long exposures I’ve ever taken! I did this while in photography school in 2005.

Photographic Details: Sneaking into a courtyard with these interesting sculptures I tried out the light drawing aspect of light painting. Here I would use an LED light to physically trace the outline of these objects, manually painting every stroke of light that you see on the tree trunk and sparkling structure in the background. I wanted to make it look surreal, as if the structure in the background was overflowing with energy. This is actually multiple 30 second exposures mashed together to combine into one ultra long exposure, with a minimum of image noise. Because I was wearing dark clothes and moving a lot, my body becomes invisible in the long exposure and only the light from the flashlight shows up! Other things like the colour and bubbles were added in photoshop.

Canon 20D 30s f/14.0 ISO100 17mm (35mm eq:27.2mm)

Digital fisheye Antarctic Vista

Antarctic-World-1.jpg

Antarctica The views that welcome you when you first arrive along the Antarctic continent is quite the sight to behold. Being surrounded by these tall icy figures rising out of the ocean feels like the mountains are hugging you, and despite the cool the antarctic air I always feel warm and fuzzy. This is one of the images I used to promote my Polar Worlds show.

Click Image for larger version

Photographic Details: Fisheye photos are cool but to use one regularly would be somewhat disorientating. The original shot had a flat horizon but I wanted something a little more dynamic. So instead of going out to get a fisheye I thought I would make the effect myself, turns out it’s possible in photoshop in about 7 clicks of the mouse!

Photoshop:

Open the image and double click your layer to rename it, you need to rename it to anything but “background” to unlock it for editing.

[image size="medium" autoHeight="true"]http://www.kylefoto.com/wp-content/uploads/2011/11/layers.jpg[/image]

Then go to Edit>Transform>Warp

[image lightbox="true" size="medium" autoHeight="true"]http://www.kylefoto.com/wp-content/uploads/2011/11/edittransform.jpg[/image]

Click on the middle of the image and drag your mouse down to begin warping, try it in other ways to get different results.

[image lightbox="true" size="large" autoHeight="true"]http://www.kylefoto.com/wp-content/uploads/2011/11/warp1.jpg[/image]

[image lightbox="true" size="large" autoHeight="true"]http://www.kylefoto.com/wp-content/uploads/2011/11/warp2.jpg[/image]

When you are finished, press enter, and you are done!

Canon EOS 5D, 1/100s f/5.0 ISO50 35mm 16-35mm f2.8 L lens.

If you like this, please share. And if you try this technique, post it in the comments and share, let’s see what you can do!

[button link="http://kylefoto.smugmug.com/Antarctica/Antarctic-Worlds/19589737_M4DwLg#1578973757_dfpPFgL" color="blue"]Order print through Smugmug[/button]

Polar Bear Tracks

beartracks-2.jpg

Svalbard, Norwegian Arctic Left on the sea ice from a polar bear that we could just see on the horizon in Svalbard. This is going to be a much rarer sight as the extent of sea ice is diminished every year, which is the important platform polar bears need to hunt for seals.

The fact that the bear has left his prints on the very surface that it depends on creates a very powerful narrative about the problem these animals face today.

Looking for a unique approach to polar bear photography I saw these tracks I knew this would help complete my polar bear portfolio as nobody really shares photos like these. So much about these animals is written in the snow: The long hair around the paws of the bear have brushed the surface of the snow and left streaks in exquisite detail, illustrating how the bear seems to shuffle across the ice. They can walk at great speeds on the ice but have to be careful not to overheat given the relative warmth of the Arctic summer and their great adaptations in conserving heat. The wide spread of the 12 inch paws act like natural snowshoes keeping the bear above the surface for optimal arctic travelling.

Photographic details: Taken with a 400mm lens shooting downwards from the bow of the ship as we parked ourselves in this ice flow. The tracks were actually barely visible with the naked eye given the flat light. I had to open the raw file and darken down the image considerably to get more detail out of the image. The results were far more detailed than I could have ever seen in real life, making for an image that actually captures the drama behind these animals.


If you like this, do me a favour and share!

The Skua, Lay down for your wildlife shots

featuredpic-9793.jpg

The SkuaAn inquisitive animal is an intelligent one Gold harbour, South Georgia, Antarctic island.

The Skua is one of the most visible predators of penguins in the Antarctic, but also the most intelligent. I parent penguin will often chase after a skua to defend it's egg or chick, but unfortunately for the penguin, the Skua will work in teams. While the parent is distracted the other bird will come in, and they will get to feed. A penguin egg or a baby chick is a high reward for a Skua, I know it might be terrible to watch, but the skuas need to eat too (and their chicks are cute!).

Photographic details It was a joy to get a shot like this, it's times like these that carrying two cameras really comes in handy. I was watching the King Penguin colony, ready to shoot close up shots of penguin behaviour with my telephoto when the skua flies in right in front of me. I pulled out my other camera with my wide angle lens (16-35mm f2.8) and managed to get a few of these shots while the Skua pecked at my polariser. [lightbox id="2" size="small"] While this happened by accident, I maximised my chances of interacting with wildlife by laying down flat on the ground. In this position not only do I have the best viewpoint, I'm also not considered a threat and more of a curiosity to wildlife. Laying down I have had elephant seals snuggle me, penguins walk on me and of course, skuas investigating my lens. I also chose to keep a lot of the background and penguin colony in this shot, keeping this bird in full context of it's environment.

This is a blog post originally posted on http://www.kylefoto.com, If you like this be sure to check out the Antarctic Worlds gallery!

Put people in your landscapes

featuredpic-9590.jpg

Put people in your landscapes Too often photographers go to great lengths to ensure there are no people in their photographs. This is often something difficult to do especially when on holidays and in touristy places.

Why not get the people to work with the landscape? How can adding a person or two improve a photograph? One of the most helpful things a human figure can do in a photograph is create a sense of scale

I was trudging along the shoreline in Antarctica, scattered with beached pieces of ice berg left by the waves and tides when I came upon this lovely scene. It was missing something, and I was alone, so I decided this was a good job for the 10 second timer on my camera. I stuffed my tripod into the snow, ran into the landscape as far as I could, and did my best to “look into the scene” in time for the shutter to release. Running back and forth was actually pretty good exercise, and pretty fun! I encourage you to try this environmental self portrait in your next sunset or interesting landscape shot, I’d love to see them if you do!

Technical facts: It’s important to note, on my particular lens (Canon 16-35 f2.8 L) and many other lenses, that when I stop down to f/16 I get a beautiful star shape out of bright objects like the sun. The number of aperture blades employed in the lens determines how many points you see in the star, even more reason to go with the “sunny f/16 “ rule!

Share if you like!

This is a blog post originally posted on http://www.kylefoto.com, if you like this be sure to check out the Antarctic Worlds Gallery here!

Antarctic underwater iceberg

kayakfeaturec.jpg

Sometimes a little forethought turns a concept into reality, a brief making of this photo: Ever since I first found out I was really going to Antarctica, I’ve had this shot in mind. I didn’t know for sure that I would be presented the chance to do this but because the concept existed in my imaginary portfolio it was ever-present in my mind.


To prepare for this I made a small investment in an ewa-marine underwater housing, It’s essentially a waterproof bag that will fit anything roughly shaped like an SLR camera.

How it looks  Canon 10-22mm lens at 14mm (equivalent 22mm) ISO 200 shutter priority 1/125 of a second 

Months later I was driving a zodiac boat outside the Lemaire channel in Antarctica, when this somewhat small piece of ice was floating by me. My imaginary photo flashed before me as I positioned the zodiac just right for the shot. I leaned over the side of the zodiac dipping my camera and lens half into the water. The camera is on shutter priority mode, so I don’t have to worry about managing any settings on my “camera-in-a-bag” in the -1°C water. This being on an ultra wide-angle lens I zoomed out to 14mm (full frame equivalent 22mm) which allowed me to capture a wide enough angle to encompass both the immediate foreground and the background. The underwater part of the image loses a lot of light compared to the above water portion, I had to significantly brighten the water with the original raw image. I expected to get this shot after nearly a hundred tries, but as luck had it this was about the 7th shot I took. Needless to say after I retrieved my camera and rinsed the salt water off the housing I was delighted with the results, and I hope you are too!

The Better Picture: Secretary bird

picasa-collage1.jpg

The better Picture: Photographers take terrible photos too, they are not meant to be seen but are integral in getting a better picture. You have been out on Safari all day, taking hundreds of photos.  Earlier in the morning you happened to have gotten a photo of a secretary bird and now you have been presented with your umpteenth viewing of this very bird; this is an important moment. Now you could put your camera down or instead you could set up your camera in preparation for the decisive moment that might become your ultimate secretary bird photo and perhaps even your best photo of the entire safari.

You may have thought “I already have a plethora of secretary bird photos, do I really need to try again”? Perhaps you are at the point of believing that your previous secretary bird shots are fantastic but this is where you have to step back just a little and try and get past the cognitive bias that all your own photographs are inherently great. Take the Dunning Kruger effect, which theorizes our innate belief in the accuracy of our perspective.  Here is how it works in terms of photography, the first time we take a photo we believe it to be perfect however if we were to give it another try and perhaps even take a moment to place it under scrutiny; this here could transform our photo from a regular vacation shot to a work of art.  Therefore I would like you to always ask yourself this “how could I improve this shot?”

The thought process I described above is classic example and is exactly what happened with the secretary birds. Some people were excited by my first shot of the birds and by all means, technically speaking you could say that I executed the image correctly; I gave the bird room to look into the frame, used a wide open aperture with only the bird in focus and no background distractions were in site.   Due to the wide open aperture my background was softened and there was no accidental motion blur.  Yay!.... Oh Wait, then why is it so blah? The bird is just standing there, nothing else  is going on in the scene, that’s why!

Many photos later I was presented with the same view of a secretary bird, strolling through the grass, looking for her prey and in a split moment she decided to take off. With my camera already trained on her, I was able to track her movement and get the right action shot.

Now we’re talking, the subject is still given room to look into the frame, but now we have action and a dramatic sense of motion, not to mention the gazelles in the background to further express that this is Africa.  Now the photo functions as a more environmental portrait expressing that these animals share the same space. This is a much better photo.

I take a lot of terrible photos initially because I’m not sure if anything better will come along. I take terrible photos like these all the time, but the reason you don’t see them is because I only show my best work. I still want you to take the bad photos but I want you to realize it’s bad right when you shoot it, and expect to take a better one later when presented with the same opportunity. Hopefully the second time around, something magical happens and you are prepared to take the shot because you have a better understanding of what you’re looking for.

These photos were taken in the Masai Mara in Kenya while hosting a photographic Safari, if you like this check out the Africa gallery!